Problem guide
Ceiling Water Damage: What to Do First and When to Get Help
A safety-first guide to ceiling stains, sagging drywall, wet light fixtures, hidden moisture, source tracing, repair planning, and insurance records.
Short answer
If a ceiling is wet, bulging, sagging, or near electrical fixtures, stay out from under it and shut off water or power only if you can do so safely. Photograph the area from a safe distance, place a bucket only if the ceiling looks stable, and get help quickly because water can hide above drywall and insulation.
Safety first
If there is standing water near electricity, a sagging ceiling, sewage, fuel, structural damage, or any situation that feels unsafe, leave the area and contact emergency services, your utility provider, a plumber, or qualified local cleanup help as appropriate. Do not enter contaminated or electrically unsafe areas to take photos.
Important
Water Mitigation Hub is an informational homeowner resource, not a restoration company. We do not inspect homes, dispatch crews, guarantee emergency availability, or verify every local contractor. Use this guide to understand your options, document damage, and compare local help before signing work authorizations.
Ceiling water damage requires immediate caution when drywall is sagging, bulging, actively dripping, or close to lights, fans, switches, or wiring. Keep people away, stop the water source only when safe, document the ceiling, floor below, and area above from a safe location, and arrange qualified evaluation when hidden moisture, wet insulation, electrical exposure, or structural damage may be present.
Updated July 22, 2026
What this guide is and is not
Water Mitigation Hub is an independent informational homeowner resource. It does not inspect ceilings, repair leaks, dispatch crews, recommend a specific contractor, provide estimates, or guarantee insurance outcomes. Review the disclaimer for the limits of this general education.
Ceiling Water Damage Quick Answer
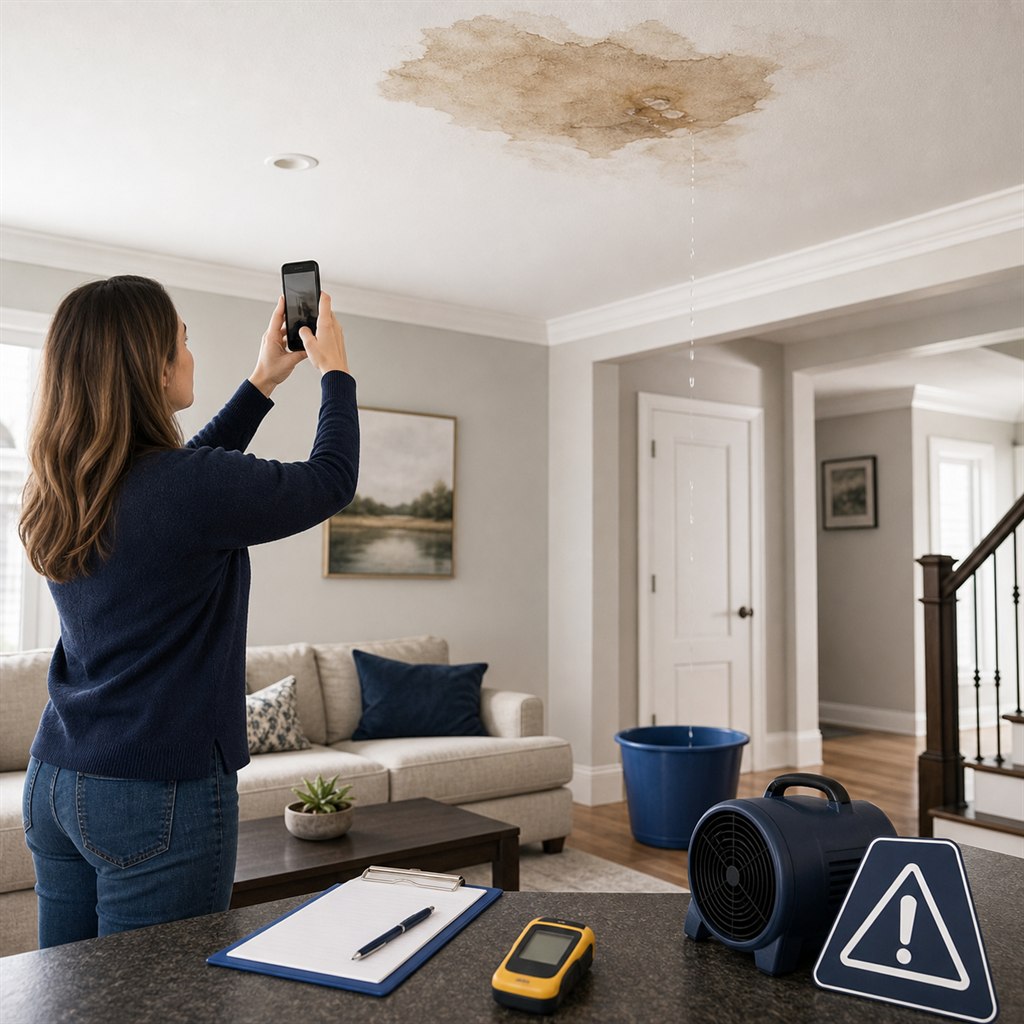
Stay away from sagging or bulging drywall and avoid wet lights, fans, switches, wiring, and electrical boxes. Stop the source only when safe, document the ceiling, floor below, and area above from a safe location, and do not poke, cut, or drain the ceiling. Hidden moisture may remain after the surface looks dry, so qualified evaluation may be needed.
When Not to Stand Under a Wet Ceiling
Do not stand below, touch, poke, cut, drain, or disturb a wet or unstable ceiling. Keep people and pets away and contact emergency services, the utility provider, or qualified professional help when an immediate safety risk may exist.
| Warning sign | Why it may be dangerous | Safer next step |
|---|---|---|
| Ceiling is sagging | Wet drywall or insulation may lose strength | Keep people away and do not stand below it |
| Ceiling is bulging | Water may be held above the finished surface | Do not touch, poke, cut, or drain it |
| Drywall is soft | The material may be weakened or saturated | Avoid the area and document from a safe distance |
| Paint is bubbling | Moisture may be behind the finish | Photograph it and look for a source only when safe |
| Crack is spreading | Movement or water weight may be affecting the ceiling | Keep clear and seek qualified evaluation |
| Water is actively dripping | The source may still be adding water | Stop the source only when safe and protect the area without standing under it |
| Water is flowing through a light fixture | Electrical components may be wet | Stay away from the fixture and seek appropriate qualified help |
| Water is near a ceiling fan | The fan housing and wiring may be involved | Do not touch or test the fan |
| Electrical box or wiring may be wet | Electrical exposure can create an immediate hazard | Do not cross water to reach electrical equipment |
| Ceiling material is falling | Loose material can injure people below | Keep people and pets out of the area |
| Floor below is slippery | A fall can occur while documenting or moving belongings | Stay out unless a safe route is available |
| Sewage or contaminated water may be involved | Contamination can change handling and disposal needs | Avoid contact and seek qualified help |
| Source is unknown | The water path may extend beyond the visible stain | Document the room and arrange source evaluation |
| Structural movement is visible | The ceiling or nearby structure may be unstable | Leave the area and seek emergency or qualified help as appropriate |
What to Do First After Ceiling Water Damage
Use these steps only when they can be completed without standing below unstable drywall, touching wet electrical fixtures, or crossing a slippery floor.
- Keep people and pets away from the damaged ceiling
- Avoid wet lights, fans, switches, cords, and electrical boxes
- Stop the water source only when safe
- Do not poke, cut, or drain bulging ceiling drywall
- Photograph the stain, drip, bulge, floor below, and area above from a safe distance
- Check the room or attic above only when it is safe
- Protect the floor and unaffected contents without standing below unstable drywall
- Contact the appropriate plumber, roofer, HVAC, or appliance professional for the suspected source
- Seek qualified mitigation help for sagging drywall, wet insulation, hidden moisture, or widespread damage
- Notify the insurer when the loss may be significant
- Save reports, moisture readings, drying logs, estimates, and receipts
- Plan ceiling repair only after the source is controlled and moisture conditions are evaluated
Signs of Ceiling Water Damage
One visual sign does not confirm the exact source or full extent of damage. A stain can be the visible end of a moisture path that started elsewhere.
| Visible sign | What it may indicate | Urgency concern | What to document |
|---|---|---|---|
| Yellow or brown stain | Past or present water movement | May spread or recur | Wide room photo and close-up |
| Spreading ring | Water may be moving beyond the first visible stain | Higher when the ring grows | Date, size, and nearby source clues |
| Bubbling or peeling paint | Moisture may be behind the finish | Material may weaken | Close-up and room-above notes |
| Cracked joint tape | Movement, moisture, or both may be affecting the seam | Higher when the crack spreads | Photos over time |
| Soft drywall | The gypsum core may be wet or weakened | Do not press on it | Photos from a safe distance |
| Sagging drywall | Water weight may be above the surface | Keep clear of the area | Ceiling shape and floor below |
| Ceiling bulge | Water or saturated material may be held in the cavity | Do not drain it | Bulge location and room-above details |
| Active dripping | The source may still be active | Water can reach flooring or fixtures | Video when safe and source notes |
| Water through a light fixture | An electrical box or fixture may be wet | Potential electrical risk | Photo only from a safe location |
| Musty odor | A damp cavity or porous material may still be wet | May need moisture evaluation | Odor timing and affected rooms |
| Repeated staining | A leak may be recurring or unresolved | Source confirmation may be needed | Prior repair and weather records |
| Damp insulation above | Insulation can hold moisture against other materials | Hidden drying may be needed | Safe attic or room-above photos |
| Discolored trim or crown molding | Water may be moving along edges or walls | Nearby wall cavities may be involved | Trim, wall, and ceiling photos |
| Wet flooring below | Water may have reached contents and finishes below | Slip and contents risk | Flooring, contents, and water path |
Common Causes of Ceiling Water Damage
Stain shape alone cannot diagnose a leak. Timing, weather, the room above, and source confirmation may help separate roof, plumbing, HVAC, and appliance concerns.
| Possible source | Common clue | Hidden areas that may be affected | Professional who may need to check it |
|---|---|---|---|
| Roof leak | Stain follows rain or wind | Attic insulation, sheathing, framing, ceiling cavity | Roofer or qualified source professional |
| Flashing or roof-penetration leak | Stain appears near a vent, pipe, or roof transition | Attic, roof deck, insulation, framing | Roofer or qualified source professional |
| Upstairs bathtub or shower leak | Stain below a bathing area | Subfloor above, drywall, insulation, plumbing | Plumber |
| Toilet leak or overflow | Stain below a toilet or bathroom floor | Subfloor, ceiling cavity, contamination-affected materials | Plumber |
| Bathroom supply-line leak | Water appears below a vanity, tub, or toilet area | Cabinet, subfloor, floor cavity, ceiling | Plumber |
| Sink or vanity leak | Stain is below a sink or cabinet | Cabinet base, subfloor, drywall, ceiling cavity | Plumber |
| Burst pipe | Fast drip, water flow, or a spreading wet area | Walls, insulation, ceiling cavity, contents | Plumber |
| Washing machine leak | Water is below a laundry room | Flooring above, subfloor, ceiling, room below | Appliance professional or plumber |
| Dishwasher leak | Stain is below a kitchen cabinet or appliance | Cabinets, flooring, subfloor, ceiling cavity | Appliance professional or plumber |
| Refrigerator supply-line leak | Slow stain below a refrigerator location | Flooring, cabinet edges, subfloor, ceiling | Appliance professional or plumber |
| Water heater leak | Water appears below a utility or mechanical area | Flooring, framing, ceiling cavity, contents | Plumber |
| HVAC condensate drain | Stain is near an air handler or attic unit | Drain pan, insulation, duct area, ceiling cavity | HVAC technician |
| Attic condensation | Seasonal dampness or staining near roof areas | Insulation, roof deck, ventilation areas | Qualified attic or HVAC professional |
| Ice dam or snow-melt issue | Water appears after snow or thaw conditions | Roof edge, attic insulation, ceiling cavity | Roofer |
| Unknown hidden leak | No clear pattern or source is visible | Roof, plumbing, HVAC, appliance lines, cavities | Qualified source professional |
A roof or attic path may connect to attic water damage. An upstairs bath, kitchen, appliance, or pipe source may connect to bathroom water damage, kitchen water damage, appliance overflow water damage, or burst pipe water damage. Those guides cover source-specific concerns without confirming the cause of a particular ceiling stain.
What a Company or Professional May Check
Water Mitigation Hub does not inspect ceilings, test electrical fixtures, measure moisture, open drywall, remove insulation, dry structures, repair sources, or perform restoration. A qualified professional may check the following based on the source, safety conditions, access, and materials involved.
| Check | Why it may matter |
|---|---|
| Ceiling stability and falling-material risk | Helps determine whether the area is safe to enter or work near |
| Water source and whether it has stopped | A continuing source can change the moisture path and work order |
| Contamination concern | Water category may affect handling, removal, and disposal |
| Electrical fixtures, fans, and boxes | Wet components may require electrical safety evaluation |
| Room, attic, roof, plumbing, appliance, or HVAC area above | The visible ceiling stain may be below the actual source |
| Ceiling drywall, joint tape, texture, insulation, framing, and joists | Materials can respond differently based on saturation and access |
| Subfloor above, nearby wall cavities, crown molding, trim, flooring, and contents | Water may travel beyond the ceiling stain |
| Baseline and unaffected comparison moisture readings | Readings can provide context for material conditions |
| Humidity and thermal imaging when used as a supporting tool | Temperature patterns can support, but do not replace, moisture readings |
| Equipment requirements and drying progress | Air movement, dehumidification, and monitoring may vary by conditions |
| Controlled material removal decisions | Access or removal may be considered when materials cannot safely dry in place |
| Documentation package | Photos, readings, logs, scopes, and invoices may support insurer review |
Why Moisture Can Hide Above the Ceiling
Water can move through ceiling drywall, insulation, framing, joists, the floor cavity and subfloor above, electrical boxes, fan housings, nearby walls, and trim. A surface stain can dry while cavity materials remain wet. Thermal imaging may help identify temperature differences, but it does not replace moisture readings or unaffected comparison readings.
Drying decisions depend on the material, contamination, access, saturation, and professional findings. Review moisture readings, structural drying, drying logs, and the water mitigation report for the records that may support those decisions.
Water Coming Through a Light Fixture or Fan
Stay away from the fixture, fan, switch, cord, bulb, and electrical box. Keep people and pets out of the area, do not stand below the ceiling, and do not cross standing water to reach electrical equipment. Contact the utility provider, emergency services, electrician, or qualified help as appropriate. The source above may separately require a plumber, roofer, HVAC technician, or appliance professional.
Ceiling Materials and Hidden Components
| Material or component | Common concern | What may be checked | Possible next step |
|---|---|---|---|
| Gypsum drywall | Can soften, sag, or lose strength | Moisture level, seams, and stability | May dry, need access, or require controlled removal |
| Plaster ceiling | Can crack, separate, or become heavy | Cracks, attachment, and moisture | May require specialist inspection |
| Acoustic ceiling tile | Often absorbs water quickly | Saturation and contamination | May require removal depending on condition |
| Textured ceiling finish | Can stain, loosen, or complicate repair | Finish adhesion and underlying drywall | May need repair after drying |
| Insulation | Can retain water in an enclosed cavity | Saturation, contamination, odor, and access | May dry or require removal depending on conditions |
| Wood framing and joists | Can remain damp behind finished materials | Moisture readings and visible condition | May need monitored drying |
| Subfloor above | May pass water into the cavity below | Source area and flooring above | May need source repair and drying evaluation |
| Crown molding | Can wick moisture at ceiling and wall edges | Edges, wall cavity, and attachment | May dry or need repair |
| Recessed light housing | Water near a fixture can create an electrical concern | Fixture area and adjacent cavity | May require electrical evaluation |
| Electrical box or fan housing | Water can reach wiring or connections | Signs of moisture and source path | May require electrician evaluation |
| Ductwork | Condensation or water may affect nearby materials | Drain, insulation, and surrounding cavity | May require HVAC evaluation |
| Contents and flooring below | Drips can damage finishes and belongings | Water path and material type | May need protection, drying, or separate repair |
Dry in Place vs Open, Remove, or Repair
Demolition decisions require case-specific evaluation. Do not cut holes, remove wet ceiling materials, or disturb hidden insulation yourself.
| Condition | Drying in place may be considered when | Opening or removal may be considered when | What should be documented |
|---|---|---|---|
| Small stable stain | Source is controlled and surrounding materials are confirmed dry | The stain grows, odor appears, or readings suggest hidden moisture | Photos, source repair notes, and readings if available |
| Wet drywall | Condition, access, and saturation support a monitored drying plan | Drywall is soft, sagging, contaminated, or cannot be verified dry | Initial and follow-up readings |
| Sagging drywall | Only after a qualified evaluation finds it stable | Material is weakened, bulging, or falling | Safety photos and scope notes |
| Wet insulation | Clean water was addressed quickly and drying can be verified | Insulation is saturated, contaminated, odorous, or inaccessible | Insulation condition and cavity records |
| Contaminated water | Only when a qualified plan supports it | Porous materials or contamination make safe drying uncertain | Source and water-category records |
| Repeated leak | After the recurring source is confirmed fixed | The same stain returns or material condition is uncertain | Prior repair records and timeline |
| Active leak | After source control and safety review | Water is still entering the cavity | Source repair notes and active-drip video when safe |
| Wet framing | Access, material condition, and readings support monitoring | The cavity remains wet or access is needed to dry it | Moisture readings and drying logs |
| Inaccessible cavity | Only when evidence supports drying without opening | Readings, odor, or spread make hidden moisture uncertain | Comparison readings and scope |
| Electrical fixture involvement | After appropriate electrical safety evaluation | Water reached a fixture, fan, or electrical box | Fixture location, photos, and electrician notes |
| Mold-like growth or musty odor | Only after source control and a qualified assessment | Odor or visible growth suggests an unresolved moisture concern | Photos, odor notes, and assessment records |
| Damaged texture or finish | After the substrate is dry and stable | Drywall or finish is loose, stained, or damaged | Drying records and repair scope |
Ceiling Water Damage Repair Sequence
- Make the area safe
- Identify and control the source
- Document initial damage
- Inspect ceiling and cavity moisture
- Remove standing water below when safe
- Decide what may dry and what may need controlled removal
- Dry and monitor affected materials
- Confirm moisture conditions
- Repair the plumbing, roofing, HVAC, or appliance source
- Replace ceiling materials where needed
- Match texture, primer, and paint
- Retain reports, invoices, readings, and photographs
The order may vary based on hazards, source, contamination, access, and professional findings. Repainting alone may not address unresolved moisture. The broader water mitigation process can help separate source control, moisture documentation, and later repair planning.
Ceiling Repair vs Source Repair vs Mitigation
Source repair stops the leak. Mitigation addresses moisture and may limit additional damage. Restoration repairs ceiling finishes after drying. Insurance review is separate from performing the work.
Review water damage restoration and mitigation versus restoration for the distinction between drying decisions and later reconstruction work.
| Professional or work type | Main purpose | Examples | Question to ask |
|---|---|---|---|
| Plumber | Source repair | Pipe, drain, toilet, tub, or supply-line leak | Has the plumbing source been confirmed and repaired? |
| Roofer | Source repair | Roof, flashing, penetration, or ice-dam concern | What roof condition may be allowing water entry? |
| HVAC technician | Source repair | Condensate drain, pan, air handler, or duct concern | Could HVAC equipment or a drain be the source? |
| Appliance repair technician | Source repair | Washer, dishwasher, refrigerator, or water-heater connection | Is the appliance or its supply line contributing? |
| Electrician | Electrical safety evaluation | Wet fixture, fan, electrical box, or wiring concern | What electrical safety review may be needed? |
| Water mitigation company | Moisture control and documentation | Extraction, drying, monitoring, and material decisions | What readings, logs, and scope will be documented? |
| Restoration contractor | Finish repair after drying | Drywall, texture, primer, paint, and trim | What repair work follows verified drying? |
| Insurance adjuster | Policy claim review | Cause, documentation, estimates, and policy terms | What records and photos are needed for review? |
DIY Ceiling Water Damage vs Qualified Help
DIY guidance should remain limited to safe documentation and minor finish planning after the source is fixed and materials are confirmed dry. It does not include puncturing a ceiling, draining a bulge, opening drywall, removing wet insulation, testing electrical fixtures, or operating electrical equipment below an active leak.
A musty odor or visible growth can point to unresolved moisture concerns, but it does not confirm the full condition inside the cavity. See mold after water damage for general moisture and mold-risk context.
| Decision factor | Limited DIY planning may fit | Qualified help may be safer when |
|---|---|---|
| Ceiling stability | Small dry, stable stain after source control | Sagging, soft, bulging, cracked, or falling material |
| Active dripping | No active drip remains | Water is still entering the ceiling or floor below |
| Electrical involvement | No fixture, fan, box, switch, or cord is wet | Water is near electrical components |
| Insulation | No wet insulation is suspected | Wet insulation or a closed cavity may be involved |
| Contamination | Clean water conditions are understood | Sewage, floodwater, or unknown water may be involved |
| Hidden moisture | Materials are confirmed dry after source repair | The cavity, framing, or nearby walls may still be wet |
| Repeated staining | No recurrence after the source is fixed | The stain returns or the source is uncertain |
| Documentation | Safe photos and minor finish planning are sufficient | Readings, logs, scopes, or insurance records may be needed |
| Repair complexity | Minor finish work after conditions are confirmed dry | Material removal, texture repair, or multiple trades may be involved |
Ceiling Water Damage Cost Factors
There is no guaranteed price. Cost may depend on the source, materials, safety conditions, drying, access, repairs, and local labor. Compare water mitigation cost factors and emergency mitigation cost factors before reviewing any written scope.
| Cost factor | Why it may matter | What to document |
|---|---|---|
| Source of leak | Roof, plumbing, HVAC, appliance, and electrical concerns can involve different work | Source report and repair notes |
| Active leak versus old dry stain | Active water can change urgency and moisture spread | Discovery time, photos, and water path |
| Ceiling area and height | Access, containment, equipment, and repair effort can vary | Affected-room photos and measurements |
| Drywall or plaster type | Materials can have different removal and repair needs | Material type and visible condition |
| Wet insulation | Saturation, access, and contamination can affect the scope | Insulation condition and cavity notes |
| Electrical fixtures | Wet fixtures or boxes can require electrical safety evaluation | Fixture location and electrician notes |
| Room or attic above | Source access and affected materials can differ by location | Room-above and attic photos when safe |
| Moisture inspection | Readings and thermal imaging when used can inform decisions | Initial and comparison readings |
| Equipment count and days | Drying equipment and monitoring can vary by conditions | Equipment list and drying logs |
| Controlled opening or removal | Access may be considered for unsafe or inaccessible materials | Written scope and approval notes |
| Disposal | Contamination and material type can affect handling | Removal and disposal records |
| Source and finish repair | Roof, plumbing, HVAC, appliance, electrical, texture, and paint work may be separate | Separate estimates and invoices |
| Contents or flooring below | Water can damage belongings and finishes under the ceiling | Photos and inventory |
| Emergency timing and local labor | Actual provider timing and local conditions may affect scope and cost | Written estimate and scheduling details |
| Insurance documentation | Records may support insurer review without guaranteeing coverage | Claim number, scopes, invoices, and communication notes |
Ceiling Water Damage Insurance Documentation
Documentation may support insurer review, but it does not guarantee coverage, reimbursement, or claim approval. Keep insurance checklist, water damage claim, coverage context, documentation steps, and adjuster inspection records organized together.
Questions to Ask Before Approving Work
Written answers can help separate source repair, mitigation, restoration, and insurance documentation. Use the contractor checklist for broader comparison questions.
| Question | Why it matters |
|---|---|
| What is the suspected source? | Source repair, moisture work, and ceiling repair can be separate |
| Has the source been stopped? | Drying decisions depend on source control |
| What water category is involved? | Contamination can change handling and removal decisions |
| What materials are wet? | Ceiling drywall, insulation, framing, flooring, and contents may differ |
| Will moisture readings be documented? | Readings can help track material conditions |
| Will drying logs be provided? | Logs can show equipment, monitoring, and progress |
| What may dry in place? | Material condition and access can affect the decision |
| What may need controlled removal? | Ask for the reason, photos, and approval process |
| Are mitigation and restoration separate? | Drying and finish repair scopes may differ |
| What is excluded? | Clarify source repair, electrical work, contents, and reconstruction |
| How are change orders approved? | Hidden moisture can change the scope |
| What documentation will I receive? | Request photos, readings, logs, scopes, and invoices |
Ceiling Water Damage Mistakes to Avoid
- standing below a sagging ceiling
- touching wet lights or fans
- crossing a wet area to reach electrical equipment
- poking, cutting, or attempting to drain wet drywall
- placing equipment below an unstable ceiling
- painting over a stain before the source is repaired
- assuming a dry surface means the cavity is dry
- ignoring the room or attic above
- overlooking wet insulation
- repairing drywall before moisture conditions are evaluated
- using household fans when contamination may be present
- discarding damaged items before safe documentation when they can be retained
- accepting guaranteed insurance statements
- signing an unclear work authorization
- failing to request readings and drying records
Preventing Repeat Ceiling Water Damage
These steps may reduce repeat problems after the cause is confirmed, but they cannot eliminate all future leaks.
- repair the confirmed source rather than only repainting the ceiling
- inspect roof penetrations and flashing when roof entry is relevant
- maintain plumbing fixtures, supply lines, appliance hoses, and connections
- maintain HVAC drain lines and pans
- address attic ventilation or condensation concerns when identified
- inspect recurring stains promptly
- use leak alarms where appropriate
- keep source-repair and mitigation records
- monitor the repaired area for recurrence
When to Get Qualified Help
Qualified help may be needed when the ceiling is sagging or bulging, drywall is soft or falling, water is near electricity or coming through a fixture, the source is active or unknown, the room above contains plumbing or appliances, attic or roof involvement is possible, insulation is wet, multiple rooms are affected, water entered wall cavities, contamination is possible, damage repeats, a musty odor or visible growth is present, detailed moisture records are needed, or significant material removal is proposed.
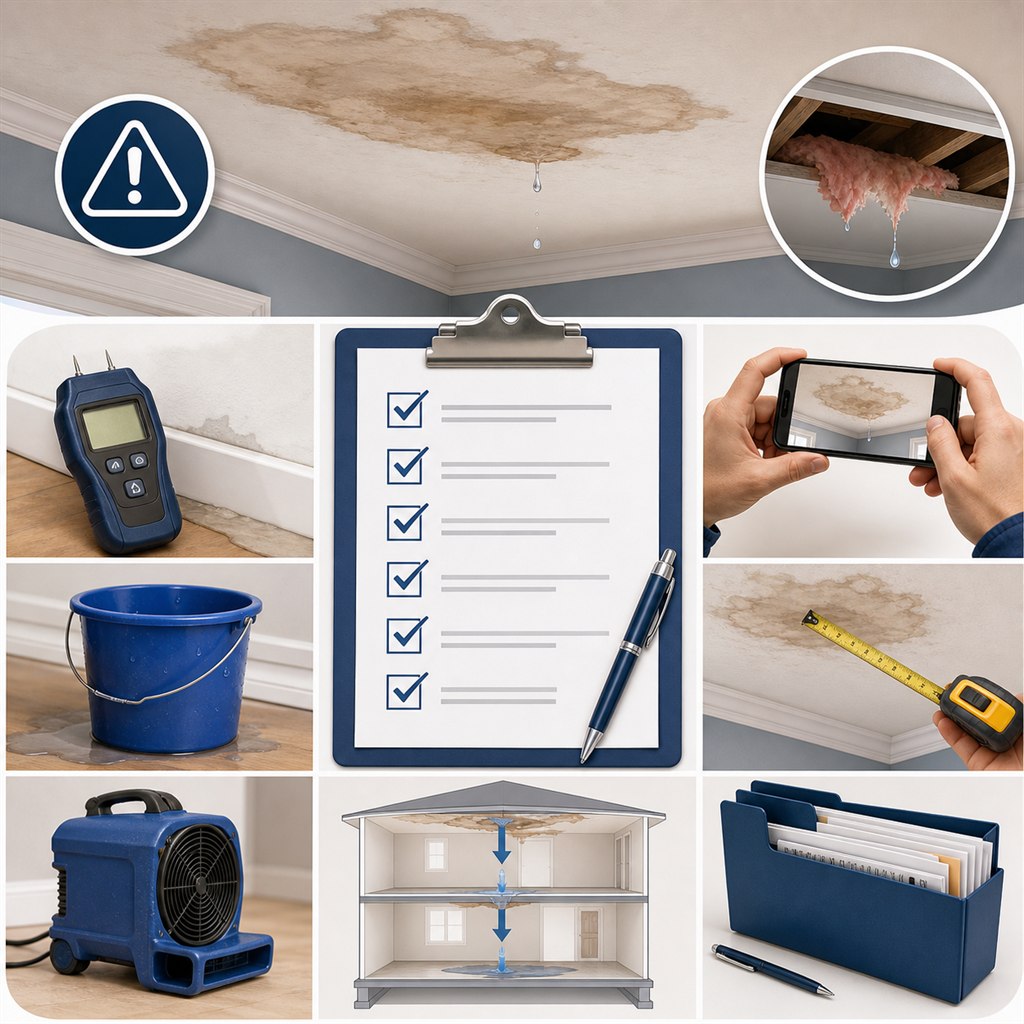
Helpful References
These public references are general education, not contractor recommendations, insurance advice, medical advice, or guarantees.
Frequently Asked Questions
Ceiling water damage FAQ
- Keep people and pets away from sagging or bulging drywall and avoid wet lights, fans, switches, cords, and electrical boxes. Stop a known source only when safe, photograph the ceiling and room above from a safe location, and save records. Qualified evaluation may be needed when hidden moisture, wet insulation, electrical exposure, or structural damage may be present.
- It can be. A sagging ceiling may hold water in drywall or insulation and can become unstable. Keep people and pets away, do not stand beneath it, and seek qualified or emergency help as appropriate when falling material, electrical exposure, or structural movement may be present.
- Do not poke, cut, or attempt to drain a wet or bulging ceiling. Water, unstable materials, wiring, fixtures, or other utilities may be above the surface. A qualified professional can evaluate whether controlled access or removal is appropriate.
- Common sources include roof or flashing leaks, an upstairs bathroom, plumbing supply or drain leaks, burst pipes, appliance supply lines, water heaters, washing machines, HVAC condensate drains, attic condensation, and unknown hidden leaks. A stain alone does not confirm the source.
- It may appear as a yellow or brown stain, a spreading ring, bubbling or peeling paint, cracked tape, soft drywall, sagging, a bulge, active dripping, wet trim, a musty odor, or wet flooring below. The appearance does not show the full extent of hidden moisture.
- Qualified help may be needed when the ceiling is sagging, soft, bulging, actively dripping, near electricity, connected to a wet room above, or when insulation, cavities, framing, contamination, or multiple rooms may be involved.
- A small stable stain from a confirmed, repaired source may only need finish planning after materials are verified dry. Wet drywall, insulation, framing, and closed cavities can remain damp after the visible surface looks dry, so drying decisions depend on the material condition, source, access, and moisture findings.
- Stay away from the fixture, fan, switch, cord, bulb, and electrical box. Keep people and pets out of the area, do not stand beneath the ceiling, and do not cross standing water to reach electrical equipment. Contact the utility provider, emergency services, electrician, or qualified help as appropriate, and address the water source above separately.
- Not always. Whether insulation may dry or may need controlled removal depends on water category, saturation, odor, time wet, access, material condition, and moisture findings. Do not disturb hidden or contaminated insulation without appropriate evaluation.
- Coverage depends on policy terms, cause of loss, exclusions, deductible, endorsements, documentation, and insurer review. Sudden damage may be reviewed differently from gradual leaks, maintenance issues, or excluded water. Documentation may support review but does not guarantee coverage or reimbursement.
- A qualified professional may use visual observations, moisture readings, unaffected comparison readings, and thermal imaging as a supporting tool. Water can move through drywall, insulation, framing, joists, subfloor, electrical boxes, fan housings, and nearby walls, so the visible stain may not show the whole path.
- Painting may hide a stain without addressing the source or moisture behind it. Source repair and material conditions should be addressed first. Primer, texture, and paint planning usually come after the ceiling is dry and stable.
- Source control, safe moisture evaluation, drying, and monitoring can reduce the conditions that support mold growth. Do not rely on the surface appearance alone or disturb suspected hidden growth. This is general education, not medical or mold-remediation advice.
- No. Water Mitigation Hub is an independent informational homeowner resource. It does not inspect ceilings, detect leaks, test electrical fixtures, open drywall, remove insulation, dry structures, repair sources, dispatch crews, provide quotes, rank contractors, or guarantee insurance outcomes.
Related Guides
Ceiling water damage resources
- Water Mitigation Hub home
- Water damage cleanup
- Water damage mitigation
- Emergency water mitigation
- Emergency water mitigation service
- Water mitigation process
- Water mitigation services
- Attic water damage
- Bathroom water damage
- Appliance overflow water damage
- Burst pipe water damage
- Drywall water damage
- Wet insulation water damage
- Structural drying after water damage
- Moisture readings after water damage
- Contractor checklist
- Insurance checklist
- kitchen water damage
- crawl space water damage guide
- hidden moisture and mold risk